How to download DNA data from and upload to Living DNA
This forms one of a series of guides on how to download DNA data from one website and upload it to another. When I say "DNA data" I mean your raw DNA data file, not a file of your matches, that is something quite different. You may want to download your raw DNA file to make the most of offers from other websites, e.g. My Heritage, to upload the data there for free and get more matches.
Please make sure that YOU are happy with any terms and conditions and privacy policies before proceeding through the various screens.
There are two parts to this article:
- Downloading your data from Living DNA
- Uploading a new test to LIving DNA
Downloading your DNA Data from LivingDNA
STEP (1): Log in to Living DNA. At the top right hand corner click on the drop down arrow next to your name and click on "Profiles".
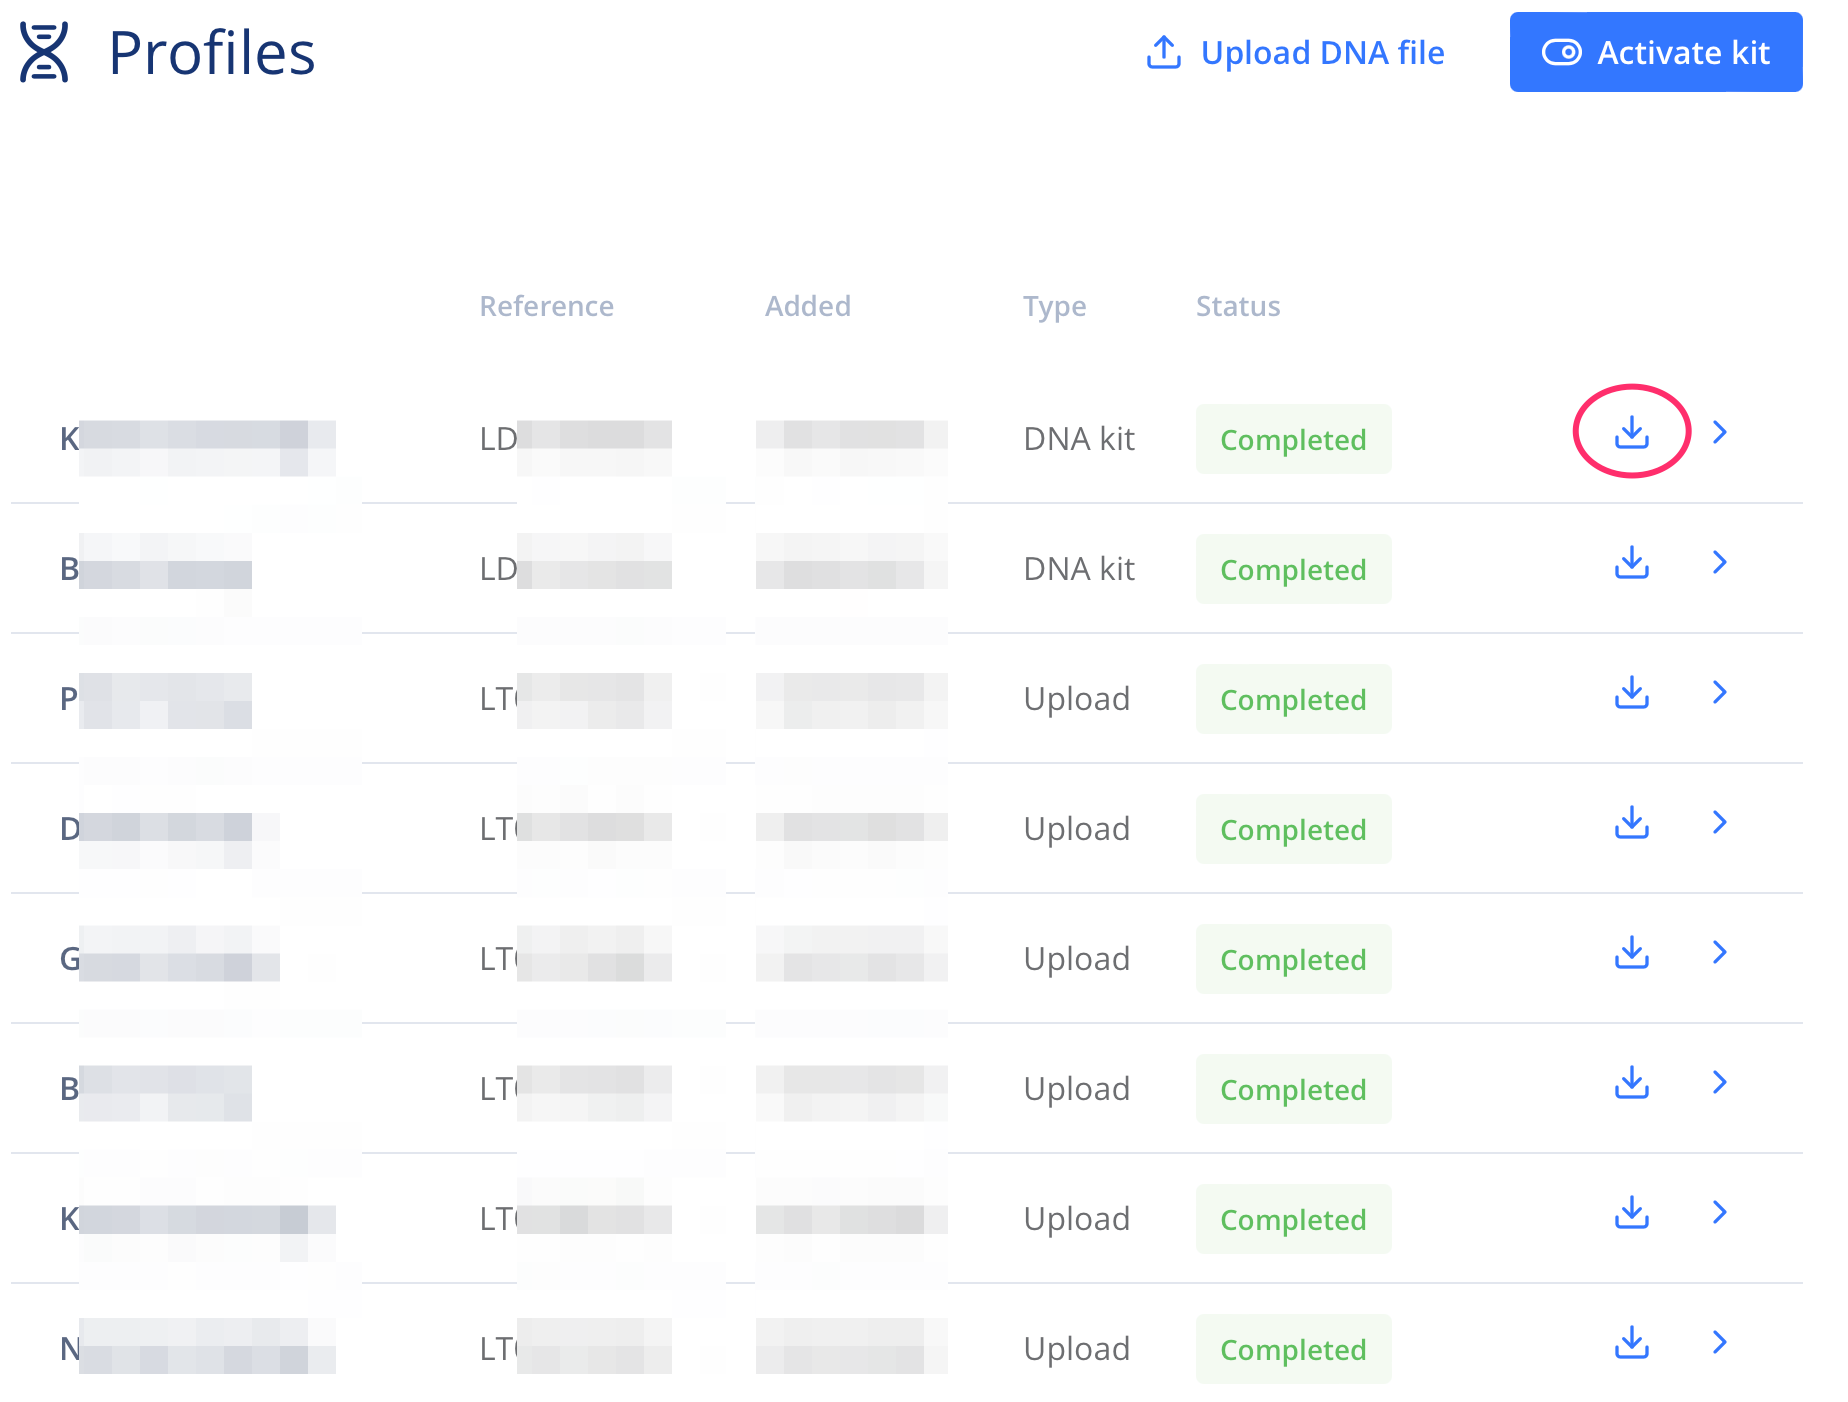
STEP (2): At the end of the row for the kit of interest, click on the download icon (circled in red). Note that you can only download data from Living DNA kits (not a kit from elsewhere, that you have uploaded to Living DNA).
STEP (3): Read through the terms of download, click the consent agreement and click the Download autosomal data button.

That’s it, all done! You should now have a .txt file ready to upload to other websites.
Uploading DNA data to Living DNA from elsewhere
Living DNA is one of the websites that accepts uploads from elsewhere. This means you don't have to pay for a Living DNA test to get Living DNA matches. There is a small fee to unlock some of the DNA tools but this is usually cheaper than the cost of a DNA test. Living DNA is the latecomer to the DNA matching party. At the time of writing match numbers are still quite low, but you may still find it useful to upload here if you have a brick wall to solve.
Which tests can be uploaded to Living DNA?
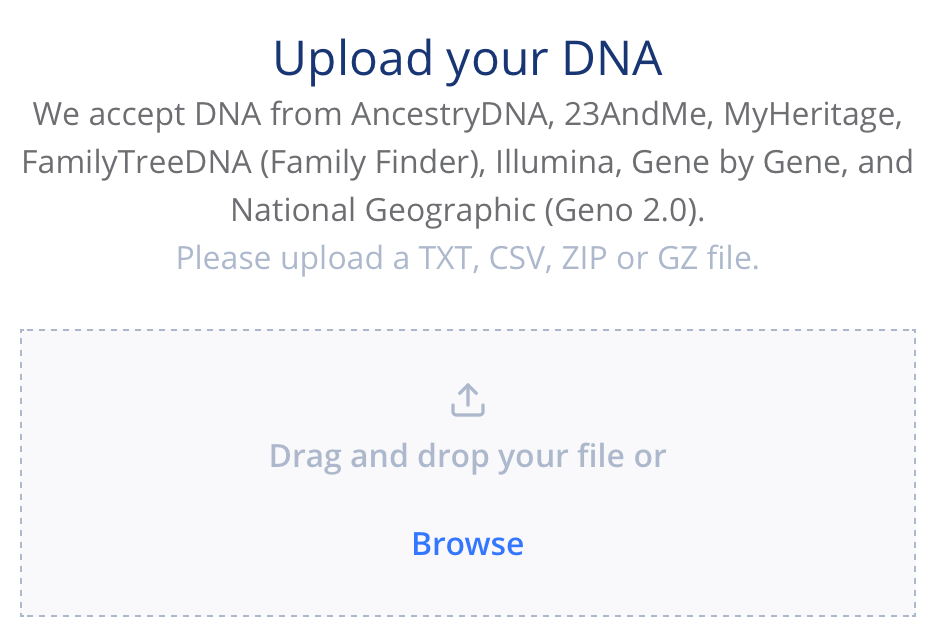
Living DNA accepts uploads from AncestryDNA, 23andMe, MyHeritage, FamilyTreeDNA (Family Finder), Illumina, Gene by Gene, and National Geographic (Geno 2.0).
The instructions differ slightly depending on whether you already have a Living DNA account.
If you already have a Living DNA account
STEP (1): Log in to Living DNA. At the top right hand corner click on the drop down arrow next to your name and click on "Profiles". At the top of the screen you will see an "Upload DNA file" option.
Go to STEP 2 (below).

If you are new to Living DNA
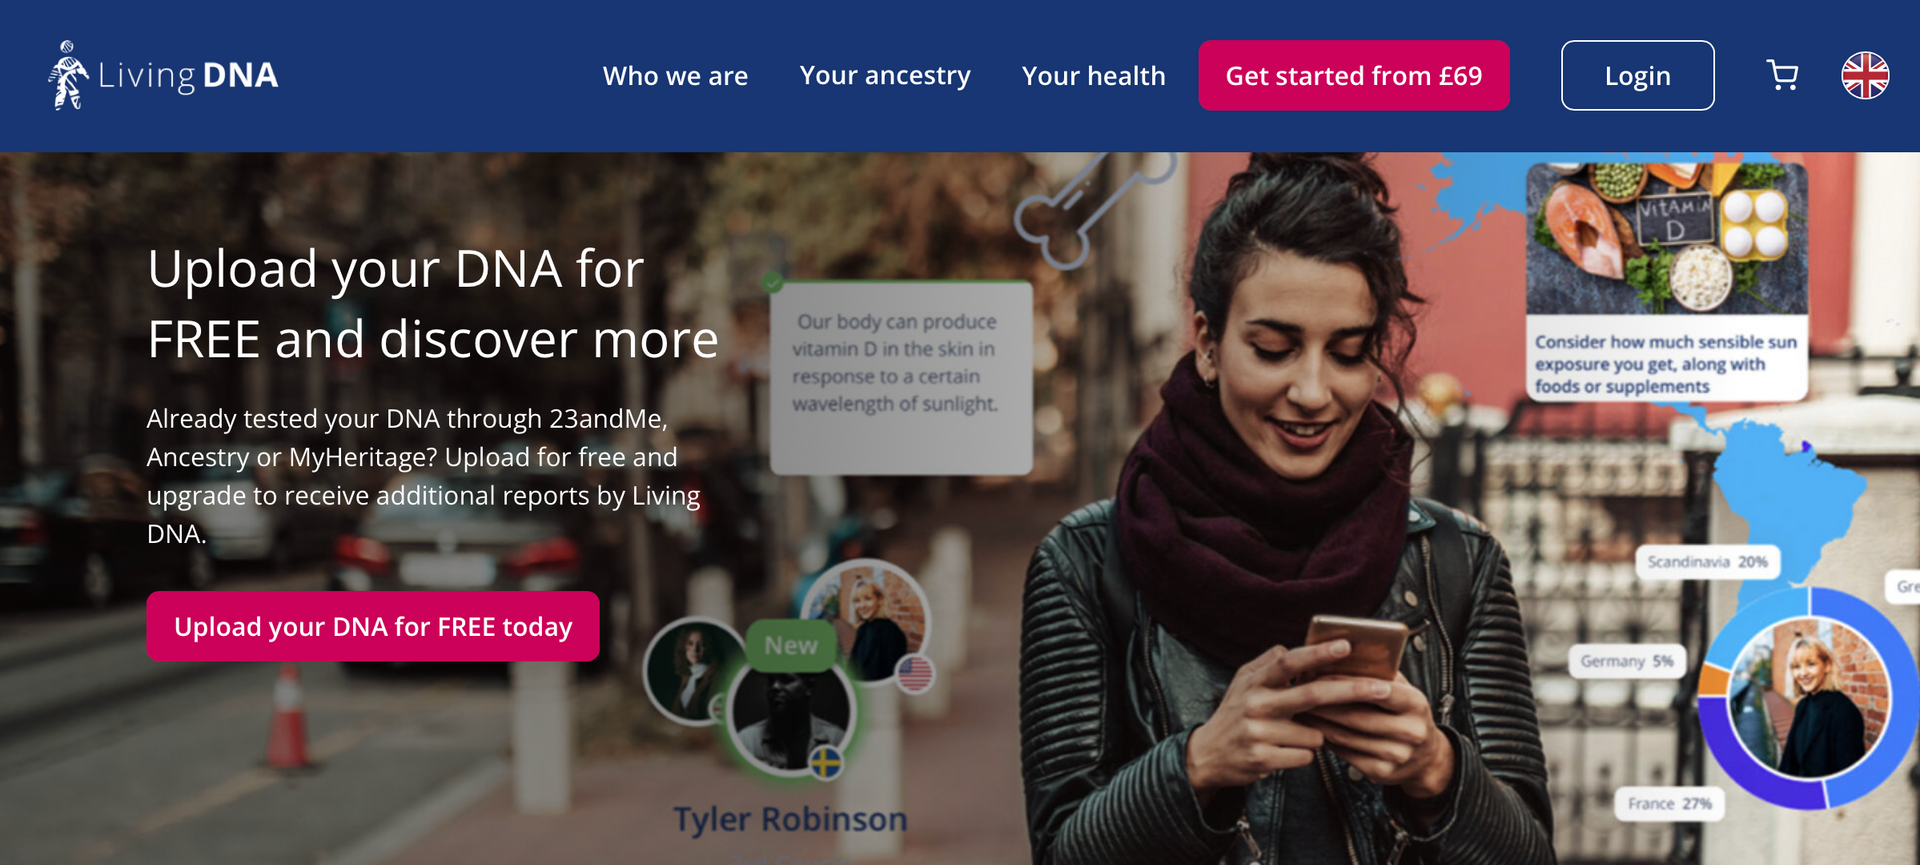
STEP (1): Visit Living DNA via the following link: https://livingdna.com/uk/free-dna-upload and click on "Upload your DNA for FREE today".
Whether or not you previously had a Living DNA account
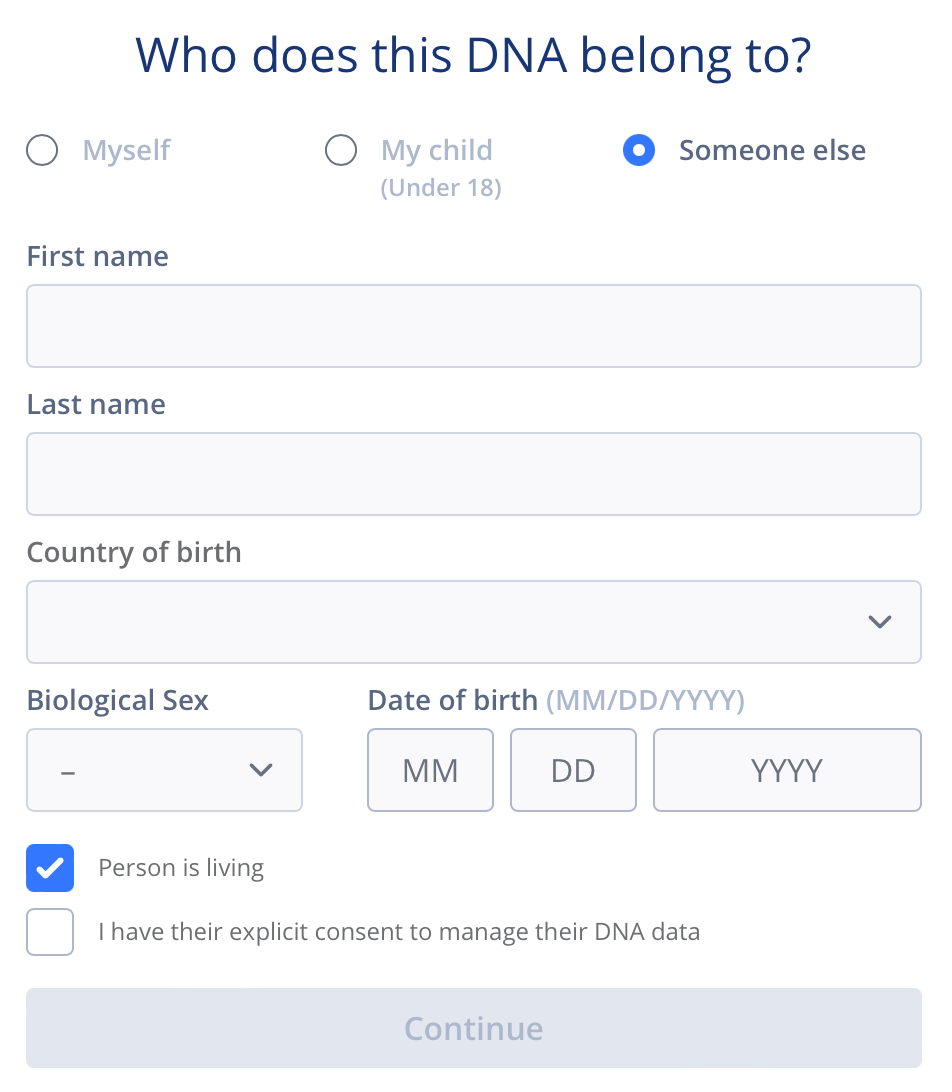
STEP (2): Fill in the required details, selecting whether the test is for yourself or someone else. Note that you must have permission to upload someone else's data.
STEP (3): At the next screen add your raw DNA data file.
STEP (4): You will be asked whether you wish to opt in to Family Networks, in other words matching. Say "yes" to this to get DNA matches.
You will then work through screens asking you to provde a username an optional profile picture,
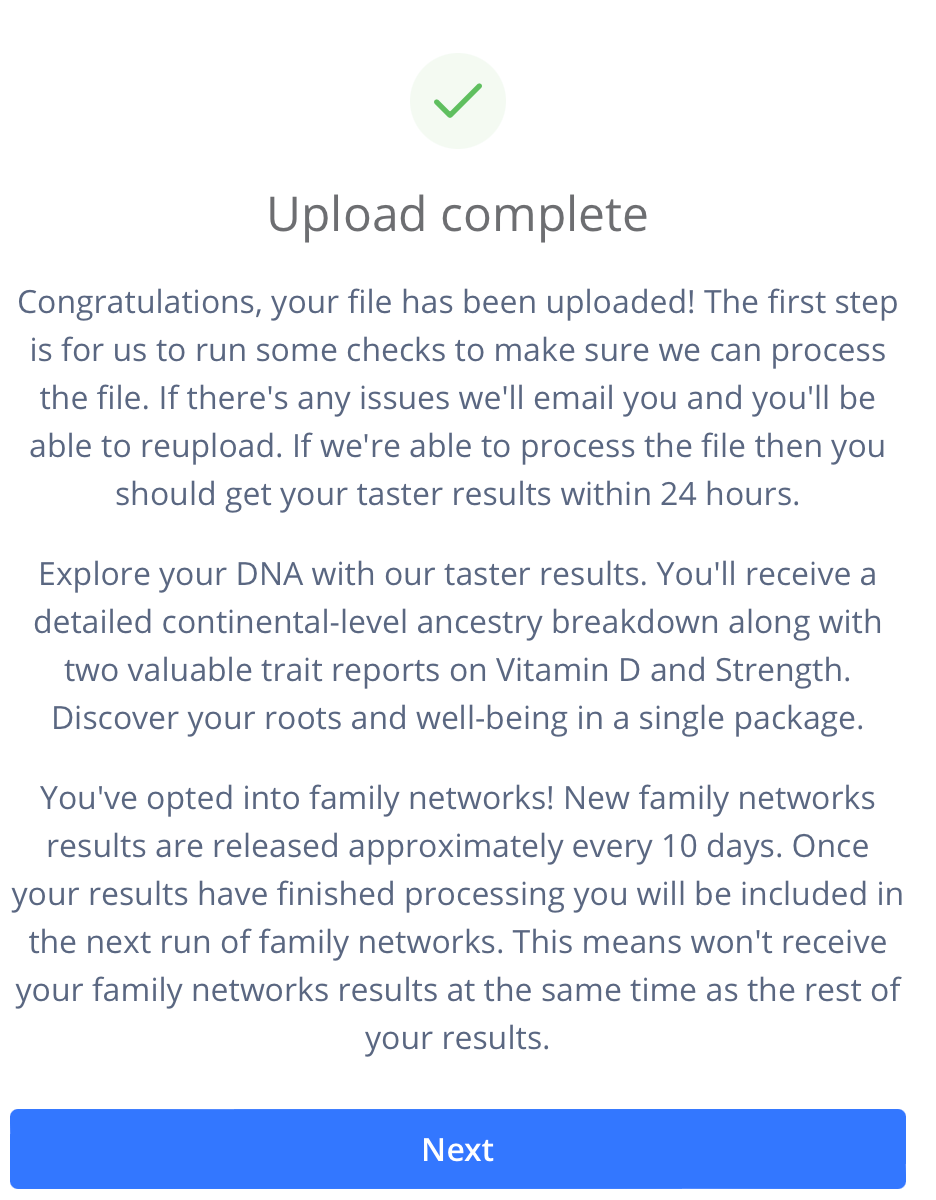
That’s it, all done! You just have to wait for the file to be processed to see your matches. The next screen will offer you the opportunity to upgrade (pay) to gain access to the additional tools but you do not need to do this to get started.
(These instructions and screenshots are current at the time of publishing but the exact layout of the screen and where on the page to click may change with time).